Created on June 23rd, 2026 at 03:06 am
Table of Contents
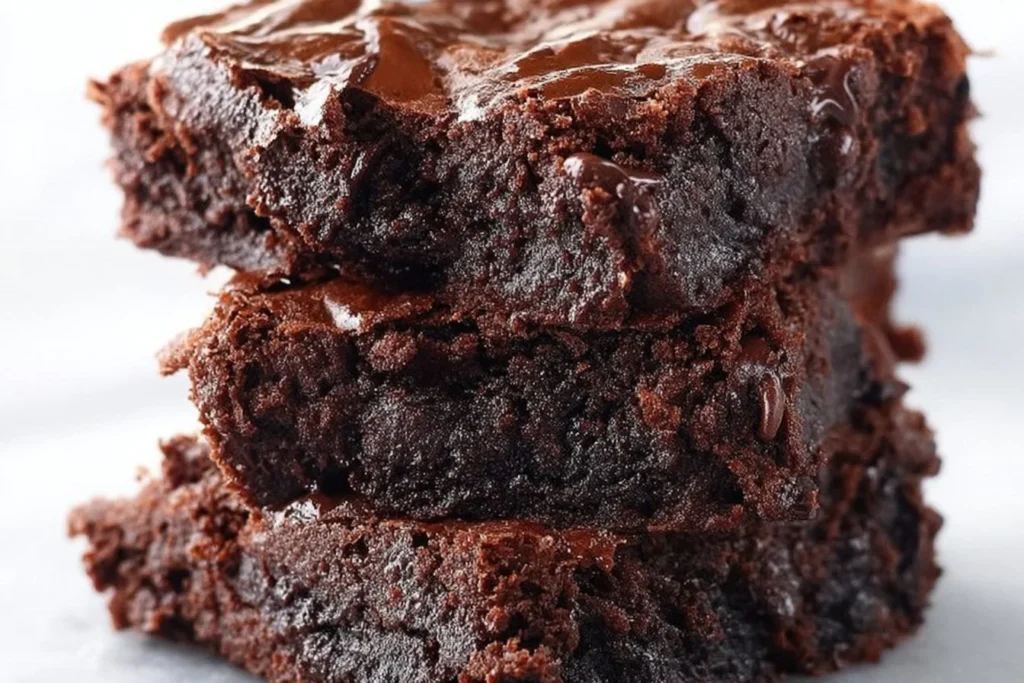
Introduction to Mini Red White and Blue Brownie Bites
Looking for the perfect patriotic treat for your next Fourth of July celebration or summer barbecue? Our Mini Red White and Blue Brownie Bites are a delightful addition to any festive dessert spread. These bite-sized treats combine the rich, fudgy goodness of brownies with vibrant red, white, and blue decorations, making them both delicious and visually stunning. For more inspiration, check out Red White Blue Brownies.
Whether you’re hosting a family gathering or attending a neighborhood cookout, these brownie bites are sure to impress. With their easy preparation and eye-catching appearance, they blend flavor and festivity in every bite.
The Perfect Patriotic Treat
These brownie bites are designed to be the ultimate patriotic treat. With their vivid colors and compact size, they capture the spirit of national holidays while being easy to serve and enjoy. The combination of rich chocolate and colorful toppings makes them appealing to adults and kids alike.
Why You’ll Love This Recipe
You’ll love this recipe for its simplicity and its ability to deliver maximum impact with minimal effort. The brownie bites come together quickly, making them ideal for those last-minute dessert needs. Plus, their festive appearance and delicious taste make them a standout choice at any gathering.

Ingredients for Red White and Blue Brownie Bites
Essential Ingredients
The essential ingredients for these brownie bites include classic brownie components like cocoa powder, sugar, flour, and butter. To achieve the red, white, and blue effect, you’ll also need red and blue colored sprinkles or edible glitter, and white chocolate chips for drizzling.
Optional Add-ins
Consider adding a handful of chopped nuts, mini marshmallows, or even a hint of peppermint extract to give your brownie bites an extra layer of flavor. You can also use white chocolate chips mixed with a bit of coconut oil for a smoother drizzle effect.
Ingredient Substitutions
If you need to make substitutions, you can use gluten-free flour for a gluten-free version or replace butter with a plant-based alternative for a dairy-free version. For those avoiding sugar, a natural sweetener like maple syrup can be used with some recipe adjustments.
Step-by-Step Instructions
Preparing the Brownie Batter
Start by preheating your oven to 350°F and lining a mini muffin tin with paper liners. In a large mixing bowl, cream together the butter and sugar until light and fluffy. Add the eggs one at a time, mixing well after each addition. Stir in the vanilla extract.
In a separate bowl, whisk together the dry ingredients: flour, cocoa powder, and a pinch of salt. Gradually incorporate the dry mixture into the wet ingredients, mixing until just combined. Your batter should be thick and glossy.
Baking the Brownie Bites
Spoon the batter into the prepared muffin tin, filling each cup about three-quarters full. Bake for 12-15 minutes, or until a toothpick inserted into the center comes out with a few moist crumbs. Allow the brownies to cool in the pan for about 10 minutes before transferring them to a wire rack to cool completely.
Decorating with Red, White, and Blue
Once the brownie bites are completely cool, melt your white chocolate chips in a microwave-safe bowl, stirring every 30 seconds until smooth. Drizzle the melted chocolate over the brownie bites, then immediately sprinkle with red and blue decorations. Let the chocolate set before serving.

Pro Tips
Creating the perfect brownie bite is an art, and these pro tips will ensure your treats come out just right every time.
- Use room temperature ingredients to help the batter mix more evenly and create a smoother texture.
- If you prefer a chewy brownie, slightly underbake them. For a more cake-like texture, bake until a toothpick comes out clean.
- Ensure even baking by rotating the pan halfway through the cooking time.
- To easily remove the brownies from the tin, use paper liners or silicone molds.
Remember, the key to achieving a fudgy texture is to avoid overmixing the batter once the flour is added. This will keep the gluten from developing too much, ensuring a tender crumb.
Serving Suggestions
Pairing with Other Desserts
These brownie bites make a wonderful addition to any dessert buffet. Pair them with other patriotic desserts like Mini Berry Tart Dessert Bites or serve alongside a platter of fresh fruits and a selection of Cheesecake Bites No Bake. Their rich flavor pairs well with creamy and fruity desserts.
Creating a Festive Dessert Tray
Arrange your brownie bites on a large platter with alternating rows of red, white, and blue treats. Add colorful napkins and some small American flags for an extra touch of patriotism. This presentation not only looks appealing but also makes serving easy for guests.
Storing and Reheating
Best Storage Practices
Store your brownie bites in an airtight container at room temperature for up to three days. If you need them to last longer, keep them in the refrigerator for up to a week. Ensure they are completely cooled before sealing to prevent condensation.
Reheating Tips
If you prefer your brownies warm, reheat them in the microwave for 10-15 seconds. Be careful not to overheat, as this can cause the chocolate to separate. For a crispy edge, consider reheating in a toaster oven on a low setting.


Mini Red White and Blue Brownie Bites
Equipment
- 1 mini muffin tin lined with paper liners
- 1 Mixing bowls various sizes
- 1 microwave-safe bowl
Ingredients
Brownie Batter
- 1/2 cup unsalted butter melted
- 1 cup granulated sugar
- 2 large eggs
- 1 teaspoon vanilla extract
- 1/3 cup cocoa powder
- 1/2 cup all-purpose flour
- 1/4 teaspoon salt
- 1/4 teaspoon baking powder
Decorations
- 1 cup white chocolate chips
- Red and blue sprinkles
- 1 teaspoon vegetable oil
Instructions
Preparation
- Preheat your oven to 350°F (175°C) and line a mini muffin tin with paper liners.
- In a large mixing bowl, combine the melted butter and sugar. Stir in the eggs, one at a time, and add the vanilla extract. Mix until smooth.
- In another bowl, whisk together the cocoa powder, flour, salt, and baking powder. Gradually add the dry ingredients to the wet ingredients, mixing until just combined.
- Spoon the brownie batter into the prepared mini muffin tin, filling each cup about three-quarters full.
- Bake in the preheated oven for 12 to 15 minutes, or until a toothpick inserted into the center of a brownie bite comes out with a few crumbs. Allow to cool in the pan for 10 minutes before transferring to a wire rack to cool completely.
Decorating
- In a microwave-safe bowl, combine the white chocolate chips and vegetable oil. Microwave in 30-second intervals, stirring after each, until the chocolate is smooth and melted.
- Drizzle the melted white chocolate over the cooled brownie bites, and immediately sprinkle with red and blue sprinkles.
Serving and Storage
- Once the chocolate is set, serve the brownie bites on a festive tray at your cookout party. They pair well with fresh fruit or ice cream.
- Store leftover brownie bites in an airtight container at room temperature for up to three days, or in the fridge for up to a week.
Notes
FAQ
Can I make these brownie bites ahead of time?
Yes, you can make these brownie bites a day ahead. Simply prepare and bake the brownie bites as directed, then store them in an airtight container at room temperature or in the refrigerator until you are ready to decorate and serve. This makes them a convenient option for busy hosts who want to prepare in advance for a party.
How can I ensure the brownie bites are moist?
To keep your brownie bites moist, avoid overbaking them. Remove them from the oven when a toothpick inserted into the center comes out with just a few moist crumbs. Also, ensure that you use the right amount of fat, such as butter or oil, to maintain their rich texture. Storing them in an airtight container will also help retain moisture.
What can I use instead of vegetable oil for the chocolate drizzle?
Instead of vegetable oil, you can use coconut oil or butter to help melt the white chocolate chips smoothly. Both options will provide a similar consistency and help the chocolate set nicely on the brownie bites. Just be sure to melt them gently to prevent the chocolate from seizing.