Created on November 3rd, 2026 at 05:30 am
Table of Contents
Introduction: New Year’s Brownies
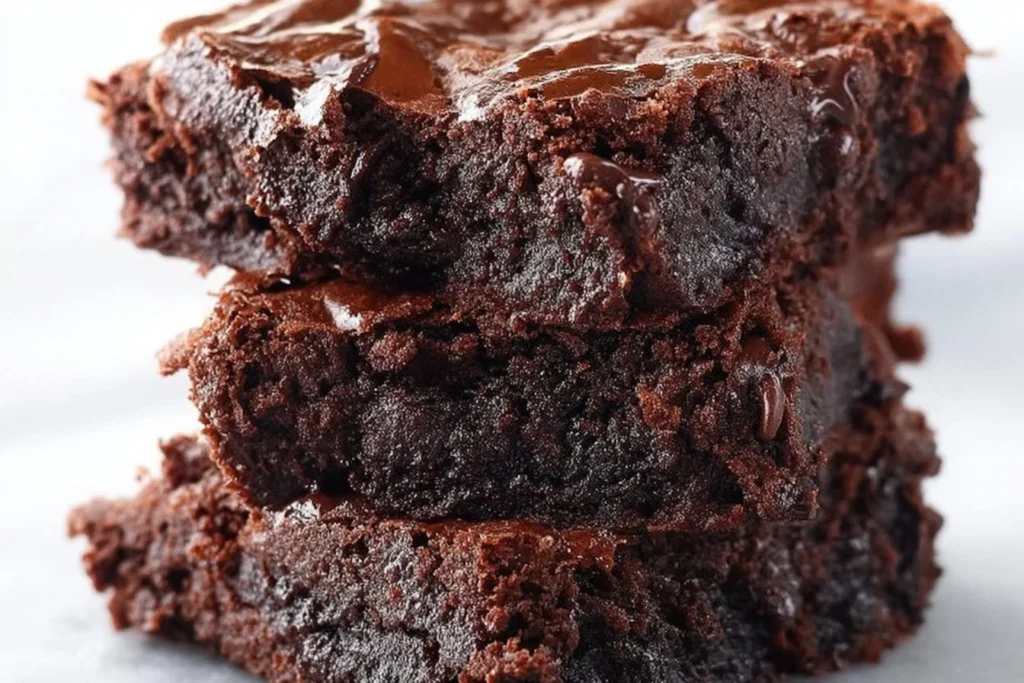
As the clock ticks towards a new beginning, what better way to celebrate than with a batch of delectable New Year’s Brownies? These treats are not just brownies; they’re a celebration in themselves, adorned with festive chocolate decorations that capture the spirit of the holiday season.
Why These Brownies are Perfect for New Year Celebrations
New Year’s Brownies bring together the rich, comforting flavor of chocolate with the excitement of the holiday. Their versatility makes them perfect for any party, whether you’re hosting a small gathering or a grand celebration. The chocolate brownie decorations add a festive touch that can be customized to fit your party theme.
Inspiration Behind the Recipe
The inspiration for these brownies comes from the desire to make a dessert that feels special and indulgent. Drawing on classic brownie recipes and adding a twist with vibrant decorations, these brownies are meant to be a centerpiece on your dessert table, inviting guests to indulge and celebrate the occasion.

Love baking cakes like this one? 🎂
Get our newest cake recipes and seasonal baking ideas in your inbox every week. Free, no spam, unsubscribe anytime. See our Privacy Policy.
Ingredients
Essential Ingredients for Brownies
To create these sumptuous New Year’s Brownies, you’ll need the following essential ingredients: all-purpose flour, cocoa powder, baking powder, unsalted butter, granulated sugar, large eggs, vanilla extract, and a pinch of salt. These foundational ingredients ensure a rich and moist brownie base.
Optional Additions for Extra Festivity
For those looking to add an extra layer of festivity, consider adding chocolate chips, nuts, or even a swirl of caramel or peanut butter. These additions can elevate your brownies, offering a surprise element with each bite. You might also want to explore using Almond Flour for a different texture, as seen in our Almond Flour Brownies.
Step-by-Step Instructions
Preparing the Brownie Batter
Start by preheating your oven to 350°F. In a large mixing bowl, cream the butter and sugar until light and fluffy. Add the eggs one at a time, beating well after each addition. Stir in the vanilla extract. In a separate bowl, whisk together the flour, cocoa powder, baking powder, and salt. Gradually add the dry ingredients to the wet mixture, stirring until just combined.
Baking and Cooling the Brownies
Pour the batter into a greased 9×13-inch baking dish, spreading evenly. Bake in the preheated oven for about 25-30 minutes, or until a toothpick inserted into the center comes out with a few moist crumbs. Allow the brownies to cool completely in the pan on a wire rack before cutting and decorating.
Decorating with Chocolate and Other Toppings
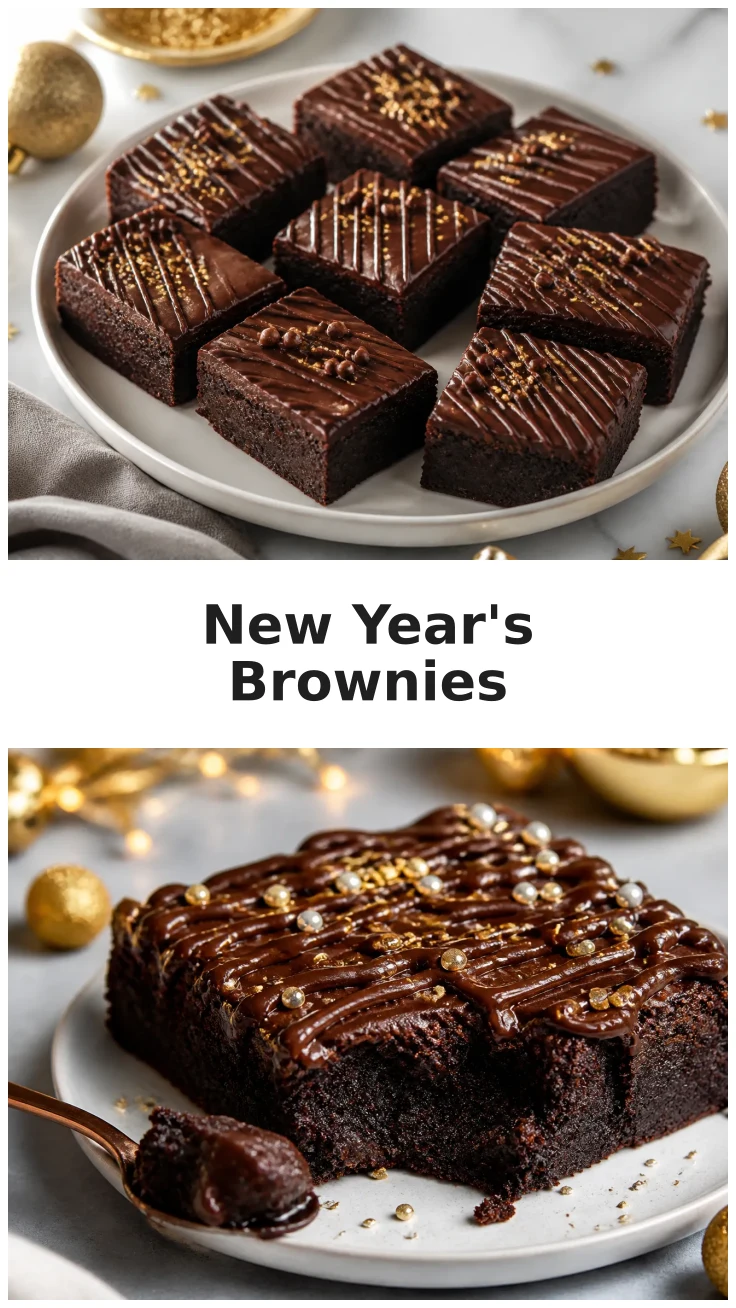
Once cooled, it’s time to get creative with your chocolate decorations. Melt white and dark chocolate chips separately and use a piping bag to drizzle festive patterns over the brownies. You can also use edible glitter, sprinkles, or edible gold leaf to enhance the celebratory feel. For more detailed decorating techniques, check out the Lemon Brownies Recipe Quick for additional inspiration.
Pro Tips
Creating the perfect brownie requires a few insider tips. Here, you’ll find advice that can turn your brownies from good to gourmet.
- To achieve a crackly top, beat the sugar and eggs together until very light and pale.
- Use high-quality chocolate for both the batter and decorations to ensure the best flavor.
- Let the brownies cool completely before cutting to get clean edges.
- If you’re looking for a different texture, explore our Crackly Top Brownies.
The most important tip is to have fun with the decorations. The more you experiment, the more unique your brownies will be.
Love baking cakes like this one? 🎂
Get our newest cake recipes and seasonal baking ideas in your inbox every week. Free, no spam, unsubscribe anytime. See our Privacy Policy.
Serving Suggestions
Pairing with Drinks and Other Desserts
These New Year’s Brownies pair beautifully with a range of beverages, from a classic glass of milk to a sophisticated espresso martini (non-alcoholic). They also complement other desserts like vanilla ice cream or a light fruit salad, adding richness and depth to your dessert spread.
Ideas for Displaying at a Party
When displaying your brownies, consider arranging them on a tiered cake stand adorned with sparklers for a dramatic effect. You might also incorporate elements from our No Bake Brownies to offer a variety of textures and flavors on your dessert table.
Nutritional Information
Caloric and Nutritional Breakdown
Each serving of these festive brownies contains approximately 320 calories, 48g of carbohydrates, 5g of protein, and 13g of fat. They also provide 2g of fiber and 28g of sugars. This nutrient profile ensures that while you’re indulging, you’re also getting a balanced treat that’s perfect for the occasional celebration.


New Year’s Brownies

Equipment
- 1 9×13-inch baking dish greased
- 1 Mixing Bowl large
- 1 electric mixer
Ingredients
Dry Ingredients
- 1 cup all-purpose flour
- 1/2 cup cocoa powder
- 1/2 tsp baking powder
- 1/4 tsp salt
Wet Ingredients
- 1/2 cup unsalted butter melted
- 1 cup granulated sugar
- 2 large eggs
- 1 tsp vanilla extract
Decorations
- 1/4 cup white chocolate chips melted
- 1/4 cup dark chocolate chips melted
- Sprinkles or edible glitter
Instructions
Preparation
- Preheat the oven to 350°F. Grease a 9×13-inch baking dish.
- In a large bowl, whisk together flour, cocoa powder, baking powder, and salt.
- In another bowl, beat the melted butter and sugar until smooth. Add eggs one at a time, followed by vanilla extract.
- Gradually add the dry ingredients to the wet ingredients, stirring until just combined.
- Pour the batter into the prepared baking dish and smooth the top. Bake for 25-30 minutes or until a toothpick comes out with a few crumbs attached.
Serving
- Allow brownies to cool completely before decorating with melted chocolate and sprinkles.
- Cut into squares and serve on a decorative platter.
Storage
- Store brownies in an airtight container at room temperature for up to 5 days.
Notes
Ingredient Substitutions: You can use almond flour for a gluten-free version.
How to Serve: Serve with a scoop of vanilla ice cream for an extra treat.
Storage & Freshness: Keep brownies in an airtight container to maintain their freshness.
Make-Ahead Tips: Brownies can be made a day ahead and decorated the next day.
FAQ
Can I make these brownies gluten-free?
Yes, you can make these brownies gluten-free by substituting the all-purpose flour with almond flour or a gluten-free flour blend. Be sure to check that all other ingredients are gluten-free as well. This substitution may slightly change the texture, but it will still result in delicious brownies.
How do I store leftover brownies?
Leftover brownies can be stored in an airtight container at room temperature for up to five days. If you want to keep them longer, consider freezing them. Wrap each brownie individually in plastic wrap and place them in a freezer-safe bag or container. They can be stored in the freezer for up to three months.
Enjoyed this recipe? Leave a review!
There are no reviews yet. Be the first one to write one.