Created on June 21st, 2026 at 11:50 am
Table of Contents
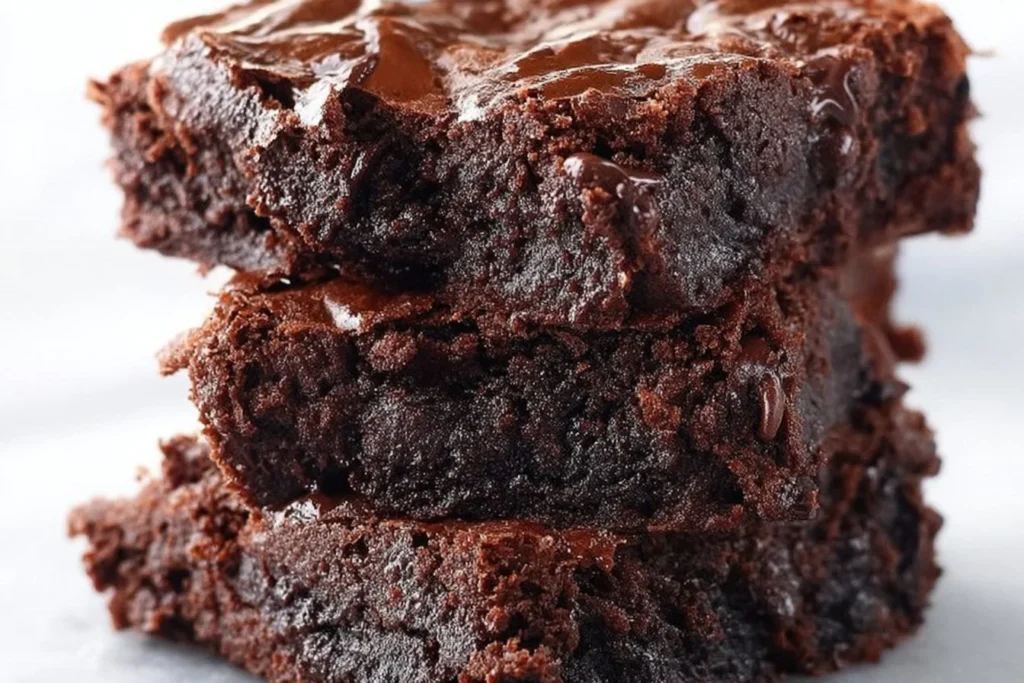
Introduction to Birthday Red White and Blue Brownies
When it comes to celebrating special occasions, there’s nothing quite like a batch of colorful red white and blue birthday brownies. These vibrant treats not only bring a splash of color to the dessert table but also delight with their rich, fudgy texture and creamy frosting. Perfect for any patriotic event or a fun birthday party, these brownies are a hit with both kids and adults alike. For more inspiration, check out Red White Blue Brownies.
Our recipe combines the classic brownie base with a festive twist, incorporating layers of red and blue swirled through a rich chocolate batter, topped with a luscious white frosting. Whether you’re celebrating Independence Day, Memorial Day, or a patriotic-themed birthday, these brownies are sure to impress.
The Inspiration Behind the Recipe
The inspiration for these brownies came from a desire to create a dessert that embodies the spirit of celebration. We wanted something that would be visually stunning yet simple enough for anyone to make at home. The red, white, and blue color scheme is a nod to our American heritage, making these brownies ideal for national holidays and birthday parties alike.
Perfect Occasions for These Brownies
These patriotic brownies are perfect for a wide range of occasions. Whether you’re hosting a Fourth of July barbecue, a birthday bash, or a Memorial Day picnic, these treats will fit right in. They’re also a fantastic choice for school events, bake sales, or any gathering where you want to showcase a bit of patriotic flair.
Why You’ll Love This Recipe
There are countless reasons to love this recipe. Not only are these brownies visually appealing, but they also offer a rich chocolate flavor that’s hard to resist. The added layers of color make them stand out, while the creamy frosting adds an extra touch of sweetness. Plus, they’re easy to customize with different add-ins or flavor variations.

Ingredients for Birthday Red White and Blue Brownies
Creating these stunning brownies requires a handful of essential ingredients, each bringing something unique to the table. From the chocolatey base to the vibrant colors, each component plays a crucial role in achieving the perfect treat.
Essential Ingredients
The core ingredients for these brownies include all-purpose flour, cocoa powder, sugar, butter, eggs, and vanilla extract. These form the base of the brownie batter, providing the rich chocolate flavor and moist texture that we all love.
To achieve the striking red and blue layers, you’ll also need red and blue food coloring. These vibrant hues are what give the brownies their festive appearance, making them perfect for patriotic celebrations.
Choosing the Right Food Coloring
When selecting food coloring, it’s important to choose high-quality, concentrated gels rather than liquid dyes. Gel food colorings offer more vibrant colors without altering the consistency of the brownie batter. Brands like AmeriColor and Wilton are excellent choices for achieving bold, true colors.
Optional Add-ins and Variations
These brownies are incredibly versatile, allowing for a variety of add-ins and flavor variations. Consider mixing in white chocolate chips for added sweetness or incorporating a hint of peppermint extract for a refreshing twist. Nuts, such as walnuts or pecans, can also be added for a bit of crunch.
Step-by-Step Instructions
Creating these colorful brownies is a straightforward process, thanks to our step-by-step guide. Follow these instructions to ensure your brownies turn out perfectly every time.
Preparing the Batter
Start by preheating your oven to 350°F and greasing a 9×13-inch baking pan. In a large mixing bowl, cream together the butter and sugar until light and fluffy. Add the eggs one at a time, mixing well after each addition. Stir in the vanilla extract.
In another bowl, whisk together the flour, cocoa powder, and baking powder. Gradually add the dry ingredients to the wet mixture, stirring until just combined. Divide the batter into three portions, adding red food coloring to one portion and blue to another, leaving the third portion plain.
Layering and Baking
Pour the plain batter into the prepared baking pan, spreading it evenly. Drop spoonfuls of the red and blue batter over the top, then use a knife to swirl the colors together, creating a marbled effect. Bake for 30-35 minutes or until a toothpick inserted into the center comes out clean.
Adding the Frosting
While the brownies are baking, prepare the frosting by beating together softened butter and powdered sugar until smooth. Gradually add milk until the frosting reaches a spreadable consistency. Once the brownies have cooled completely, spread the frosting evenly over the top.

Pro Tips
To ensure your birthday red white and blue brownies turn out perfectly, here are some expert tips to keep in mind. These suggestions will help you achieve the ideal texture and color distribution.
- Use room temperature ingredients for better mixing and a smoother batter.
- When swirling the colors, be gentle to avoid over-mixing and muddying the colors.
- Allow the brownies to cool completely before frosting to prevent the frosting from melting.
- For clean cuts, use a sharp knife and wipe it between each slice.
The most important tip is to use high-quality food coloring gels. They ensure vibrant colors without affecting the brownie texture, which is crucial for the visual appeal of this dessert.
Serving and Storing Your Brownies
Once your brownies are ready, it’s time to think about serving and storing them properly to maintain their freshness and flavor. Here are some creative ideas and storage tips to consider.
Creative Serving Ideas
These brownies make a striking addition to any dessert table. Serve them alongside other patriotic treats like an American Flag Brownies or a Blueberry Strawberry Shortcake. For a birthday celebration, pair them with a Birthday Ice Cream Sandwich Cake for a fun and festive dessert spread.
How to Store for Freshness
To keep your brownies fresh, store them in an airtight container at room temperature for up to three days. If you need to keep them longer, consider freezing them. Wrap each brownie individually in plastic wrap, then place them in a freezer-safe container for up to three months. Thaw at room temperature before serving.


Birthday Red White and Blue Brownies
Equipment
- 1 9×13 inch baking pan greased
- 1 electric mixer
- 1 Mixing bowls several, for color separation
Ingredients
Brownie Batter
- 1 cup unsalted butter melted
- 2 cups granulated sugar
- 4 large eggs
- 1 tsp vanilla extract
- 1 cup all-purpose flour
- 1/2 cup cocoa powder
- 1/2 tsp salt
- Red and blue gel food coloring
Frosting
- 1/2 cup unsalted butter softened
- 2 cups powdered sugar
- 2 tbsp milk
- 1 tsp vanilla extract
Instructions
Preparation
- Preheat your oven to 350°F (175°C). Grease a 9×13-inch baking pan with butter or non-stick spray.
- In a large mixing bowl, combine melted butter and sugar, whisking until smooth. Add eggs one at a time, beating well after each addition. Stir in vanilla extract.
- In a separate bowl, whisk together flour, cocoa powder, and salt. Gradually add to the wet ingredients, mixing until just combined.
- Divide the batter evenly into three bowls. Add red gel food coloring to one bowl and blue to another, leaving the third bowl plain.
- Pour the plain batter into the prepared pan, spreading it evenly. Drop spoonfuls of the red and blue batters over the top, then use a knife to swirl them together.
- Bake in the preheated oven for 30-35 minutes, or until a toothpick inserted into the center comes out clean. Let cool completely in the pan on a wire rack.
Frosting
- In a medium bowl, beat softened butter until creamy. Gradually add powdered sugar, beating until smooth. Add milk and vanilla extract, mixing until combined and smooth.
- Once the brownies are completely cool, spread the frosting evenly over the top. Use a spatula to create decorative swirls if desired.
Serving and Storage
- Cut the frosted brownies into 16 squares and serve at room temperature. Perfect for parties or patriotic celebrations.
- Store leftover brownies in an airtight container at room temperature for up to three days, or freeze for up to three months.
Notes
FAQ
Can I make these brownies ahead of time?
Yes, you can prepare these brownies a day in advance. Baking them ahead allows the flavors to meld together, leading to a richer taste. Store them in an airtight container at room temperature and add the frosting just before serving to maintain freshness and texture.
What are some variations I can try with this recipe?
You can try different variations such as adding white chocolate chips or sprinkles for extra texture. Substitute the frosting with a chocolate ganache or a lemon glaze for a different flavor profile. You can also add a layer of fruit jam like strawberry or blueberry for an added burst of flavor.