Created on November 3rd, 2026 at 07:30 am
Table of Contents
Introduction: New Year Brownie Bites
Why These Brownie Bites Are Perfect for New Year
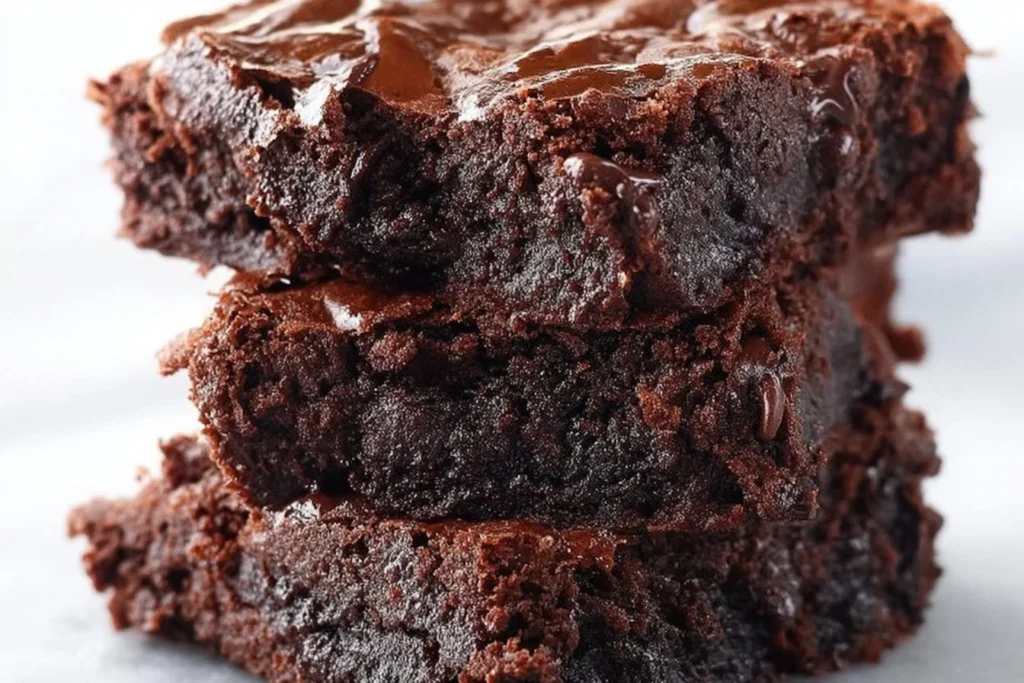
New Year celebrations are all about fun, excitement, and indulging in delicious treats. What’s better than starting the year with a delightful bite-sized dessert that’s both cute and festive? These New Year Brownie Bites are the perfect dessert for any New Year gathering, combining the rich, fudgy goodness of brownies with playful decorations that embody the spirit of the celebration. For more inspiration, check out Christmas Brownie Bites.
These brownie bites are not only delicious but also incredibly versatile. They can be decorated to match any New Year theme, making them an ideal choice for parties where you want to impress your guests with your baking creativity. Plus, their mini size makes them a guilt-free indulgence, allowing everyone to enjoy a sweet treat without overindulging.
The Inspiration Behind Festive Decorations
The festive decorations on these brownie bites are inspired by the vibrant and energetic spirit of New Year celebrations. Think of sparkling fireworks, shimmering confetti, and colorful party hats. These elements translate beautifully into edible decorations such as sprinkles, edible glitter, and colorful icing, transforming simple brownie bites into an eye-catching centerpiece for your dessert table.
Incorporating these playful elements not only enhances the visual appeal of your desserts but also adds an element of fun to the baking process. Let your creativity shine as you design each brownie bite to be a unique representation of the New Year festivities.

Love baking cakes like this one? 🎂
Get our newest cake recipes and seasonal baking ideas in your inbox every week. Free, no spam, unsubscribe anytime. See our Privacy Policy.
Ingredients
Essential Ingredients for Brownie Bites
Creating these delightful brownie bites requires a few essential ingredients that you likely already have in your pantry. Here’s what you’ll need:
- 1 cup all-purpose flour
- 1/2 cup unsweetened cocoa powder
- 3/4 cup granulated sugar
- 1/2 cup brown sugar, packed
- 1/2 cup unsalted butter, melted
- 2 large eggs
- 1 teaspoon vanilla extract
- 1/4 teaspoon salt
Optional Add-ins for Extra Festivity
To make your brownie bites even more festive, consider adding some mix-ins or toppings. Here are a few ideas:
- 1/2 cup chopped nuts (such as walnuts or pecans)
- 1/2 cup chocolate chips or chunks
- Colorful sprinkles for decoration
- Edible glitter to add some sparkle
For more ideas on making your brownie bites special, check out Pecan Pie Brownie Bites.

Pro Tips
Creating the perfect brownie bites requires a few tricks of the trade to ensure they come out fudgy and flavorful every time.
- Use high-quality cocoa powder for the best chocolate flavor.
- Don’t overmix the batter; this can lead to tough brownies.
- Bake just until a toothpick inserted in the center comes out with a few moist crumbs.
- Allow the brownies to cool completely before cutting to avoid crumbling.
One of the most crucial tips is to watch the baking time closely; brownies go from perfect to overbaked very quickly. Keeping an eye on them will ensure you achieve that ideal fudgy texture.
Step-by-Step Instructions
Preparing the Brownie Batter
Start by preheating your oven to 350°F. In a large mixing bowl, combine the melted butter, granulated sugar, and brown sugar. Stir in the eggs one at a time, followed by the vanilla extract. In a separate bowl, sift together the flour, cocoa powder, and salt. Gradually add the dry ingredients to the wet ingredients, mixing until just combined.
Baking and Cooling the Bites
Grease a mini muffin tin or line it with paper liners. Spoon the brownie batter into each cup, filling each about 3/4 full. Bake in the preheated oven for 12-15 minutes or until a toothpick inserted into the center of a brownie bite comes out with a few moist crumbs. Allow the brownie bites to cool in the pan for about 10 minutes before transferring them to a wire rack to cool completely.
Decorating Your Brownie Bites
Once the brownie bites are completely cool, it’s time to decorate! Use a variety of icings, sprinkles, and edible glitter to dress up your brownie bites. Let your creativity run wild, and don’t be afraid to mix and match different decorations to create a festive and fun display.
Love baking cakes like this one? 🎂
Get our newest cake recipes and seasonal baking ideas in your inbox every week. Free, no spam, unsubscribe anytime. See our Privacy Policy.
Serving Suggestions
Pairing with Other New Year Treats
These brownie bites pair beautifully with other New Year desserts such as a New Years Eve Cake or Cranberry Pecan Cheese Ball Bites. Create a dessert table that offers guests a variety of sweet treats to enjoy as they ring in the New Year.
Presentation Ideas for Parties
For a stunning display, arrange your brownie bites on a tiered cake stand. You can also place them in decorative wrappers or stack them in a pyramid shape on a large platter. Consider adding some New Year-themed decorations around the platter to enhance the festive atmosphere.
For more mini dessert ideas, check out Mini Brownie Bites.
Nutritional Information
Caloric Content and Serving Size
Each serving of these New Year Brownie Bites contains approximately 150 calories. This estimation is based on a serving size of two brownie bites, making them a delightful indulgence that won’t derail your New Year’s resolutions.
Allergen Information
These brownie bites contain common allergens such as wheat, eggs, and dairy. If you have dietary restrictions, consider substituting with gluten-free flour or using dairy-free butter and chocolate chips to accommodate your needs.


New Year Brownie Bites

Equipment
- 1 mini muffin tin greased or lined
- 1 Mixing Bowl large
- 1 Whisk
Ingredients
Dry Ingredients
- 1 cup all-purpose flour
- 1/2 cup unsweetened cocoa powder
- 1/4 tsp salt
Wet Ingredients
- 3/4 cup granulated sugar
- 1/2 cup brown sugar packed
- 1/2 cup unsalted butter melted
- 2 large eggs
- 1 tsp vanilla extract
Optional Add-ins
- 1/2 cup chocolate chips
- 1/2 cup chopped nuts
- Sprinkles for decoration
Instructions
Preparation
- Preheat oven to 350°F. In a large mixing bowl, whisk together melted butter, granulated sugar, and brown sugar until smooth. Beat in eggs one at a time, then stir in vanilla extract.
- In a separate bowl, sift together flour, cocoa powder, and salt. Gradually add dry ingredients to the wet mixture, stirring until just combined. Fold in chocolate chips and nuts if using.
- Spoon batter into the prepared mini muffin tin, filling each cup about 3/4 full.
Cooking
- Bake in preheated oven for 12-15 minutes or until a toothpick inserted into the center comes out with a few moist crumbs. Avoid overbaking to maintain fudginess.
- Allow brownie bites to cool in the pan for 10 minutes before transferring to a wire rack to cool completely.
Serving
- Once cooled, decorate with icing, sprinkles, or edible glitter to add a festive touch. Serve on a decorative platter for a party-ready presentation.
Storage
- Store leftover brownie bites in an airtight container at room temperature for up to 3 days. For longer storage, freeze the bites in a single layer and then transfer to a zip-top bag.
Notes
Ingredient Substitutions: Swap butter with coconut oil for a dairy-free version.
How to Serve: Arrange on a tiered stand for a party.
Storage & Freshness: Store in an airtight container for up to 3 days.
Make-Ahead Tips: Make a day ahead and decorate just before serving.
FAQ
Can I make these brownie bites gluten-free?
Yes, you can make these brownie bites gluten-free by using a 1:1 gluten-free baking flour in place of the all-purpose flour. Ensure that all other ingredients, such as cocoa powder and chocolate chips, are certified gluten-free to avoid cross-contamination. The texture and taste remain deliciously fudgy and rich.
How can I store leftover brownie bites?
Leftover brownie bites can be stored in an airtight container at room temperature for up to 3 days. If you wish to store them longer, you can freeze them. To freeze, place the brownie bites in a single layer on a baking sheet until frozen, then transfer them to a freezer-safe bag or container. They can be frozen for up to 2 months.
Enjoyed this recipe? Leave a review!
There are no reviews yet. Be the first one to write one.