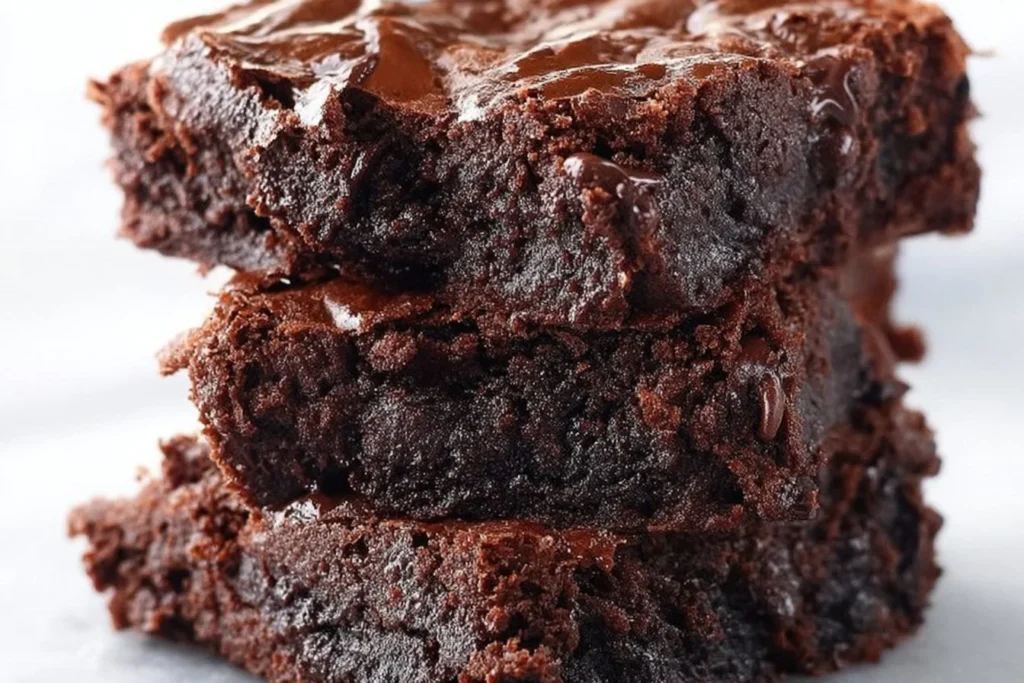
Created on August 20th, 2026 at 07:30 am
Table of Contents
Introduction: Peanut Butter Brownie Bars
Welcome to a world of indulgence with our Rich Peanut Butter Brownie Bars. These decadent treats are a fusion of chocolate and peanut butter, offering a gooey and irresistible texture that’s perfect for any occasion. Whether you’re hosting a party or simply craving a sweet treat, these bars are sure to please.
Our Peanut Butter Brownie Bars combine the best of both worlds: the richness of chocolate brownies and the creamy delight of peanut butter. They’re easy to make, and you’ll love how they turn out every time. Let’s dive into why these bars are a must-have in your baking repertoire.
Why You’ll Love These Bars
The combination of chocolate and peanut butter is timeless, and these bars perfectly capture that classic flavor. They’re gooey, rich, and full of flavor, with a texture that’s both chewy and melt-in-your-mouth. Plus, they look like they came straight from a bakery, giving you that professional touch at home.
Perfect Occasions for Serving
These bars are versatile and can be served at a variety of occasions. They’re perfect for birthday parties, family gatherings, or even as a sweet ending to a dinner party. Their rich flavor and gooey texture make them a crowd favorite, and they’re sure to be a hit wherever you serve them. For more inspiration, check out our Peanut Butter Swirl Brownies.

Ingredients
To make these scrumptious bars, you’ll need a few key ingredients. Each one plays a vital role in creating the perfect texture and flavor. Let’s take a look at what you’ll need.
Essential Ingredients
For the base of these bars, you’ll need rich cocoa powder, creamy peanut butter, and high-quality chocolate chips. These ingredients provide the chocolatey and nutty flavor that makes these bars so irresistible. Don’t forget the essentials like flour, eggs, and sugar to bring everything together.
Optional Add-Ins
If you’re looking to customize your bars, consider adding chopped nuts, caramel swirls, or even some sea salt on top for an extra layer of flavor. These additions can elevate your bars to a new level of deliciousness. For more healthy variations, try our Healthy Peanut Butter Apple Oatmeal Bars.
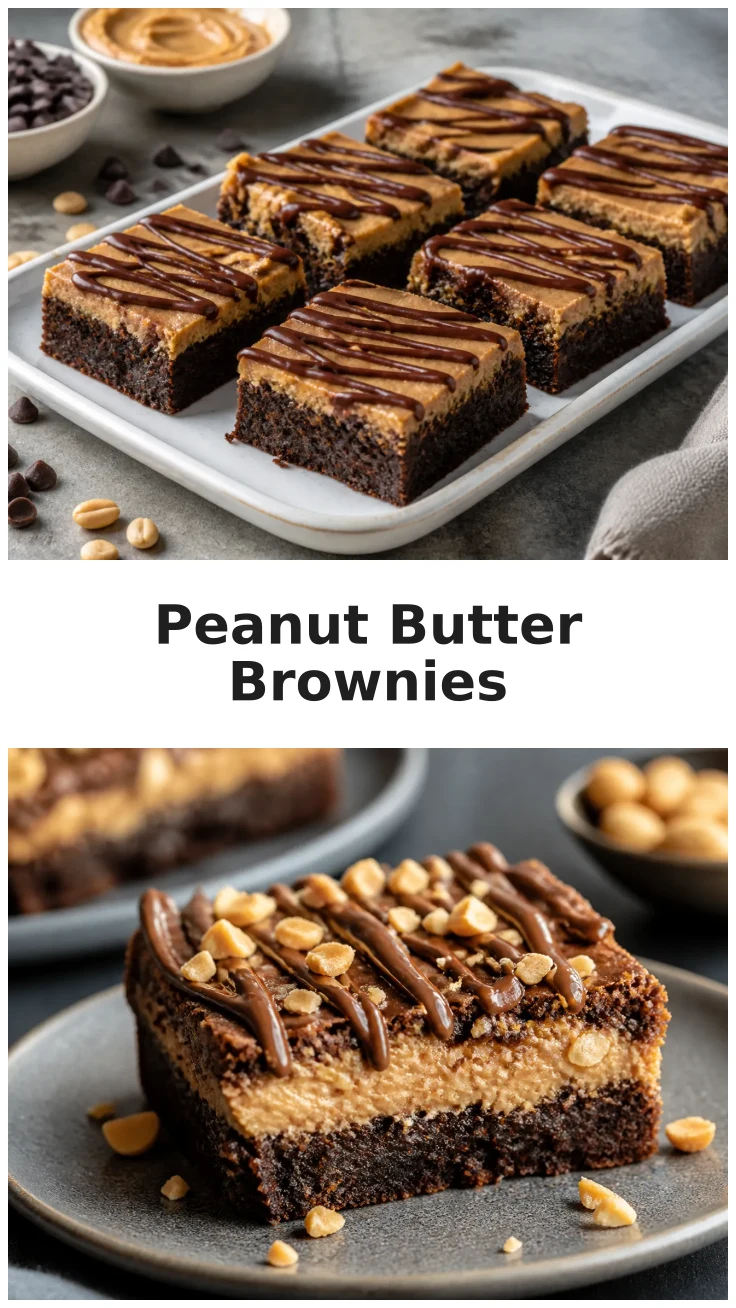
Step-by-Step Instructions
Now that you have your ingredients ready, let’s jump into the process of making these delightful bars. Follow these steps for a perfect outcome every time.
Preparing the Batter
Start by preheating your oven to 350°F. In a large mixing bowl, cream together the butter and sugar until light and fluffy. Add in the eggs, one at a time, followed by the vanilla extract. In a separate bowl, whisk together the flour, cocoa powder, and baking powder. Gradually add the dry ingredients to the wet ingredients, mixing until just combined. Fold in the chocolate chips and peanut butter.
Baking to Perfection
Grease a 9×13 inch baking pan and pour the batter into the pan, spreading it evenly. Bake in the preheated oven for 30-35 minutes, or until a toothpick inserted into the center comes out with a few moist crumbs. Be careful not to overbake, as you want the bars to remain gooey.
Cooling and Serving
Allow the bars to cool in the pan for at least 20 minutes before slicing. This cooling time helps them set properly, ensuring clean cuts. Once cooled, slice into bars and serve. For a twist on this classic, try our Peanut Butter Cheesecake Brownies.
Pro Tips
To make sure your Peanut Butter Brownie Bars turn out perfectly every time, consider these pro tips. They’ll help you achieve the ideal texture and flavor.
- Use room temperature ingredients to ensure even mixing and a smoother batter.
- Line your baking pan with parchment paper for easy removal and clean cuts.
- If you prefer a fudgier texture, reduce the baking time slightly.
- For an enhanced peanut butter flavor, use chunky peanut butter instead of creamy.
Achieving the perfect texture is all about balance. Make sure not to overmix the batter, as this can lead to a tougher texture. Instead, gently fold in the ingredients until just combined. For more tips, explore our Chocolate Peanut Butter Cookies.
Achieving the Perfect Texture
The secret to a perfect brownie bar is in the texture. Aim for a balance between fudgy and cakey by carefully measuring your ingredients and keeping an eye on baking time. A slightly underbaked center ensures that gooey texture everyone loves.
Storage and Shelf Life
To keep your bars fresh, store them in an airtight container at room temperature for up to three days. If you need to store them longer, consider refrigerating them, or even freezing for up to a month. When ready to enjoy, simply thaw at room temperature.
Nutritional Information
While these bars are indulgent, it’s always helpful to know the nutritional breakdown. Here’s what you can expect from each serving.
Calorie Count and Nutrients
Each bar contains approximately 320 calories, with a balance of carbohydrates, fats, and proteins. They’re a decadent treat that should be enjoyed in moderation, especially if you’re watching your daily intake. Despite being a sweet treat, these bars can be part of a balanced diet when enjoyed occasionally.


Rich Peanut Butter Brownie Bars

Equipment
- 1 9×13 inch baking pan greased
- 1 Mixing Bowl large
- 1 electric mixer
Ingredients
Dry Ingredients
- 1 cup all-purpose flour
- 1/2 cup unsweetened cocoa powder
- 1/2 tsp baking powder
- 1/4 tsp salt
Wet Ingredients
- 1/2 cup unsalted butter melted
- 1 cup granulated sugar
- 2 large eggs room temperature
- 1 tsp vanilla extract
- 1/2 cup creamy peanut butter
- 1/2 cup semi-sweet chocolate chips
Instructions
Preparation
- Preheat your oven to 350°F and grease a 9×13 inch baking pan.
- In a large mixing bowl, combine melted butter and sugar until smooth. Add eggs one at a time, beating well after each addition. Stir in vanilla extract.
- In a separate bowl, whisk together flour, cocoa powder, baking powder, and salt. Gradually add to the wet ingredients, mixing until just combined.
- Fold in the chocolate chips and drop spoonfuls of peanut butter into the batter, swirling gently with a knife for a marbled effect.
- Pour the batter into the prepared pan and spread evenly. Bake in preheated oven for 30-35 minutes, or until a toothpick inserted into the center comes out with a few moist crumbs.
Serving
- Allow the bars to cool in the pan for 20 minutes before slicing. Serve with a cold glass of milk or a scoop of vanilla ice cream for extra indulgence.
Storage
- Store leftover bars in an airtight container at room temperature for up to 3 days, or refrigerate for up to a week. For longer storage, freeze for up to a month.
Notes
Ingredient Substitutions: Substitute almond butter for peanut butter for a different nutty flavor. Use dark chocolate chips for a richer taste.
How to Serve: Serve warm with a scoop of vanilla ice cream or a drizzle of chocolate syrup.
Storage & Freshness: Keep in an airtight container to maintain freshness and prevent drying out.
Make-Ahead Tips: These bars can be made a day ahead. Store in the refrigerator and bring to room temperature before serving.
FAQ
Can I freeze Peanut Butter Brownie Bars?
Yes, Peanut Butter Brownie Bars can be frozen for up to a month. To freeze, wrap each bar individually in plastic wrap and place them in a freezer-safe bag. When you’re ready to enjoy, thaw them at room temperature or warm them in the microwave for a few seconds.
What variations can I try with this recipe?
You can experiment with different nut butters like almond or cashew for a unique flavor. Adding a layer of caramel or a sprinkle of sea salt on top can also enhance the taste. For a more indulgent version, try mixing in some white chocolate chips or a swirl of Nutella.
How do I achieve a fudgy texture in my brownie bars?
To achieve a fudgy texture, make sure not to overbake the bars. Bake until a toothpick inserted in the center comes out with a few moist crumbs. Also, use a combination of melted butter and a higher ratio of chocolate to flour. These tips will help maintain the gooey consistency that makes these bars so delightful.
Enjoyed this recipe? Leave a review!
There are no reviews yet. Be the first one to write one.